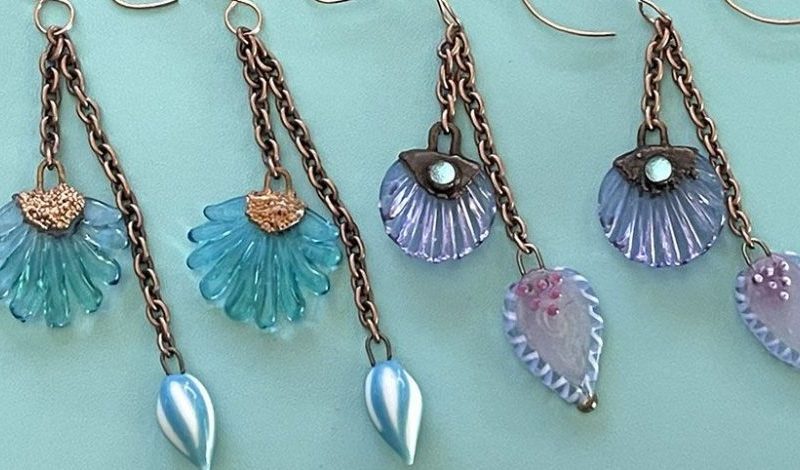
Step 1:
Flush cut one end of a length of wire. Form a small, simple loop around the 2mm barrel of forming or bail-making pliers.
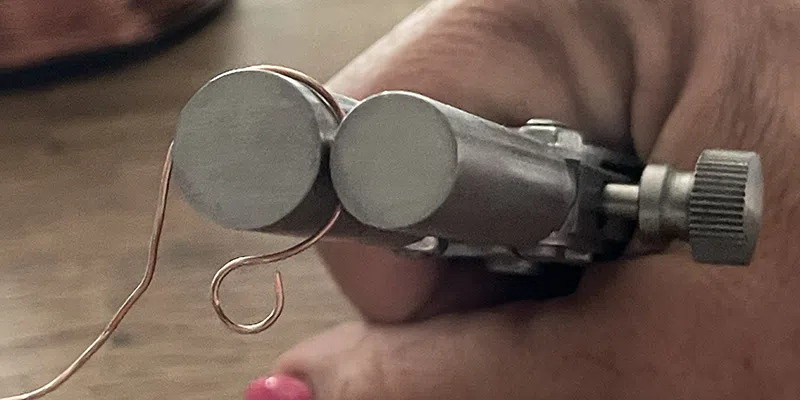
Forming earwire on Wubbers parallel pliers.
Place the wire in the jaws of the parallel pliers so the top of the loop rests against the barrel of the parallel pliers. Form the wire around the larger barrel.
Trim the wire about 3/4″ beyond the pliers. Gently curve the end of the wire against the smaller barrel of the pliers for a nice finish. Repeat to create two earwires.
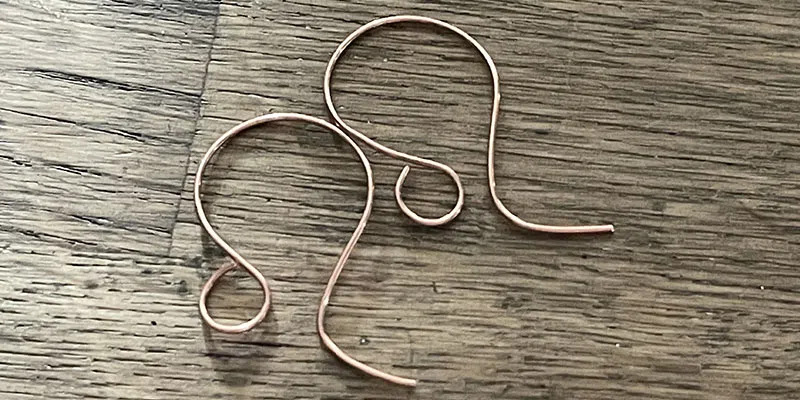
21-gauge copper wire formed earwires.
Optional: Use a wire rounder or cup bur to “round” the end of the wire. This step provides extra comfort for the wearer.
Step 2:
Place an earwire on the bench block. Hammer the earwire to harden the wire. This will help the earwire hold its shape when being worn and when stowed in a jewelry box.
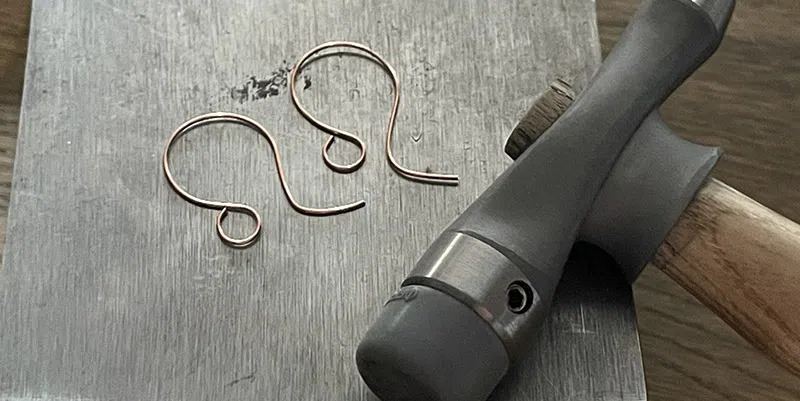
Use a nylon (or similar) hammer and bench block to harden earwires so they hold their shape.
Tip: Read Wire Jewelry Making Basics for more on wire and basic information.
Step 3:
Open the link on one end of the chain and add the loop on one large pendant; close the link. Open the simple loop on the earwire and slip on a link in the chain, about 1″ above the pendant; close the loop
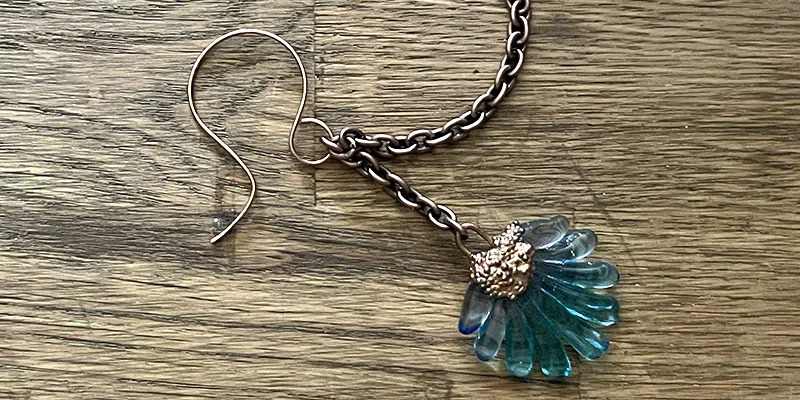
Large electroformed lampwork pendant attached to a length of chain on the earwire.
Open the chain link about 2 1/2″ from the earwire, remove the remaining chain, then slip on the loop on the small pendant drop; close the link.
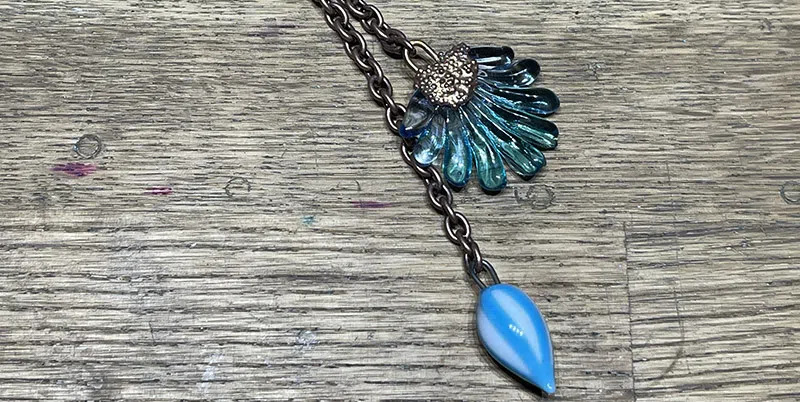
Both electroformed lampwork pendants attached to the chain.
Tip: If the chain link is too small to accommodate the pendant loop, use a jumpring to connect the two together.
Repeat to create a matching earring.
Related: 10 Earrings to Make in an Hour
The steps in this wire earring tutorial can be repeated to create so many varieties of earrings—for a quick and easy pair, draw inspiration from the beads and pendants already in your stash or take your time and have fun shopping for something new.
Thanks To: https://www.interweave.com/article/jewelry/wire-earring-tutorial-pendants/
