
Above: Amethyst Bar and Stainless Steel Byzantine Chain Maille Bracelet by Michelle Brennan
Your phone is great for a lot of things. Finding projects, reading blogs, and even photographing your finished bead and jewelry projects. Phone cameras are getting so advanced these days that even professional photographers aren’t completely dismissing them. The key to taking a good photograph of your jewelry on your phone is all in the technique. Check out our tips below.
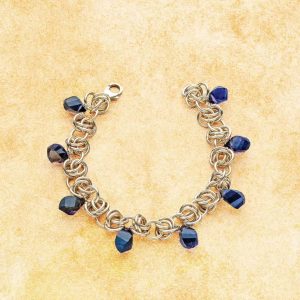
Two Tones & a Twist Bracelet by Kylie Jones
1. Keep the Background Simple
The last thing you need when photographing your jewelry is a crazy, distracting background. For a good picture, make sure the background is as plain as possible. A light-colored background such as white or a pastel that complements your pattern makes for the best choice as it emphasizes the object. Make sure to remove background objects from your space and avoid black backgrounds because the contrast might not be great enough to let your project shine.
2. Use a Tripod
One of the most difficult parts about taking photos with your phone is the tendency to shake or move the phone accidentally while trying to snap the picture. Using a tripod or other prop to hold the phone and keep it in position so you can get the perfect shot is a game changer when it comes to photographing your jewelry projects. This also frees your hands to reposition the object as you see fit without readjusting the lighting.
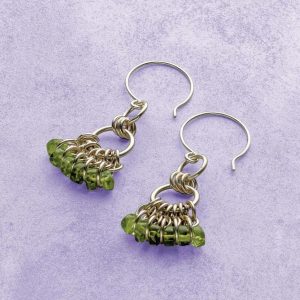
Fan Maille Earrings by Kylie Jones
3. Adjust Focus to Avoid Blurriness
Your phone probably has a touchscreen focus square that will help your camera decide where to focus. To adjust it, touch the area you want to be clear to find the focus that suits your picture without taking away too much of the attention from the background. You can play around with this a bit, but it should help you avoid blurriness in the wrong spots on your photos.
4. Negative Space is Your Friend
The Rule of Thirds is a basic philosophy in art. To use this, visualize your frame into three parts, positioning your object into one or two thirds of the photo, leaving some empty space to complement the object. Negative space is good for your photos and can add depth to the image.
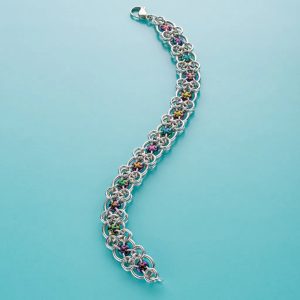
Lattice Chain Maille Bracelet by Michelle Brennan
5. More Angles, More Choices
Take lots of shots at many different angles. You will have more options to choose from, and you may also realize that your jewelry looks better at an angle you may not have thought of before! Testing out different focuses, angles, and backgrounds can help your project find its best light and will give you more to work with without having to retake the photos. Experiment with changing the angle of your jewelry, too. For example, a slight S shape adds interest.
Related: Light, Camera . . . Gemstones! Lighting Tips for Jewelry Photography
Bonus: Editing Apps for Touching Up Your Photos
✓ CANVA: This is one of the most popular free photo-editing apps available, as you need almost no experience to edit your photos using their free templates.
✓ PicMonkey: One of the easiest free photo-editing apps to use, PicMonkey is great for beginners and those who want to edit their photos but don’t want to spend a lot of time doing it.
✓ GIMP: This free photo-editing app is more advanced, as close as you can get to Photoshop without the price tag.
For more tips and tricks on photographing your creations from a pro, check out the resources below.